The Best Insulation for Existing Homes
The Best Insulation for Existing Homes
Whether it’s the dead of winter or the dog days of summer, your home isn’t a very comfortable place to be.
You’re dealing with cold drafts, fluctuating temperatures, and high monthly energy bills. You’ve also noticed condensation on the walls, uncomfortable rooms, as well as mold and mildew. These issues are caused by the lack of insulation in your exterior walls.
If there is little to no insulation in those exterior walls, or the insulation you have isn’t doing its job, there is room for air movement into and out of your home. Air leakage is the main contributing factor to the comfort issues you’re experiencing.
Transform your family’s comfort and peace of mind with RetroFoam insulation.
RetroFoam insulation creates an air seal that will stop those annoying drafts from getting inside your home.
Lower your monthly energy bills up to 50 percent with the air seal created by injection foam insulation.
An added bonus of RetroFoam insulation is that it can reduce the outdoor noise in your home to give you a quieter space.
Take back control of your home with RetroFoam's air seal, so it's no longer too hot or too cold.
Stop your furnace and air conditioner from constantly running with the air seal that helps maintain a constant temperature.
RetroFoam insulation prevents condensation from forming and doesn't promote the growth of mold and mildew.
Ann M.
The insulation you have in your walls can make a huge difference in the comfort of your home, as well as the energy efficiency.
If you have old cellulose or fiberglass in those exterior walls, then air will be able to move through those materials. If you have no insulation, then there’s really nothing stopping that air from getting inside your home.
That’s why what’s inside your walls matters.
Injection foam insulation creates an air seal that will stop that air movement into and out of your home. Stopping that air leakage will help solve the problems plaguing your home for as long as you can remember.
The installation process for existing walls can vary depending on your home's exterior.
For the typical install, we deal with vinyl or aluminum siding. If you want to learn more about the installation process for other exterior types, check out our Install Process page.
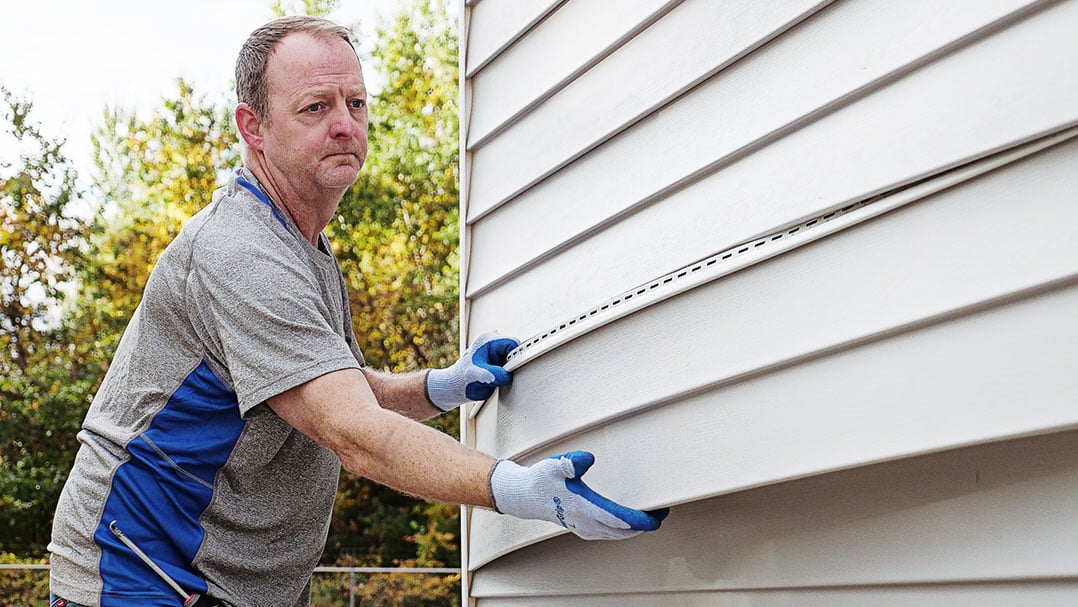
Remove Siding
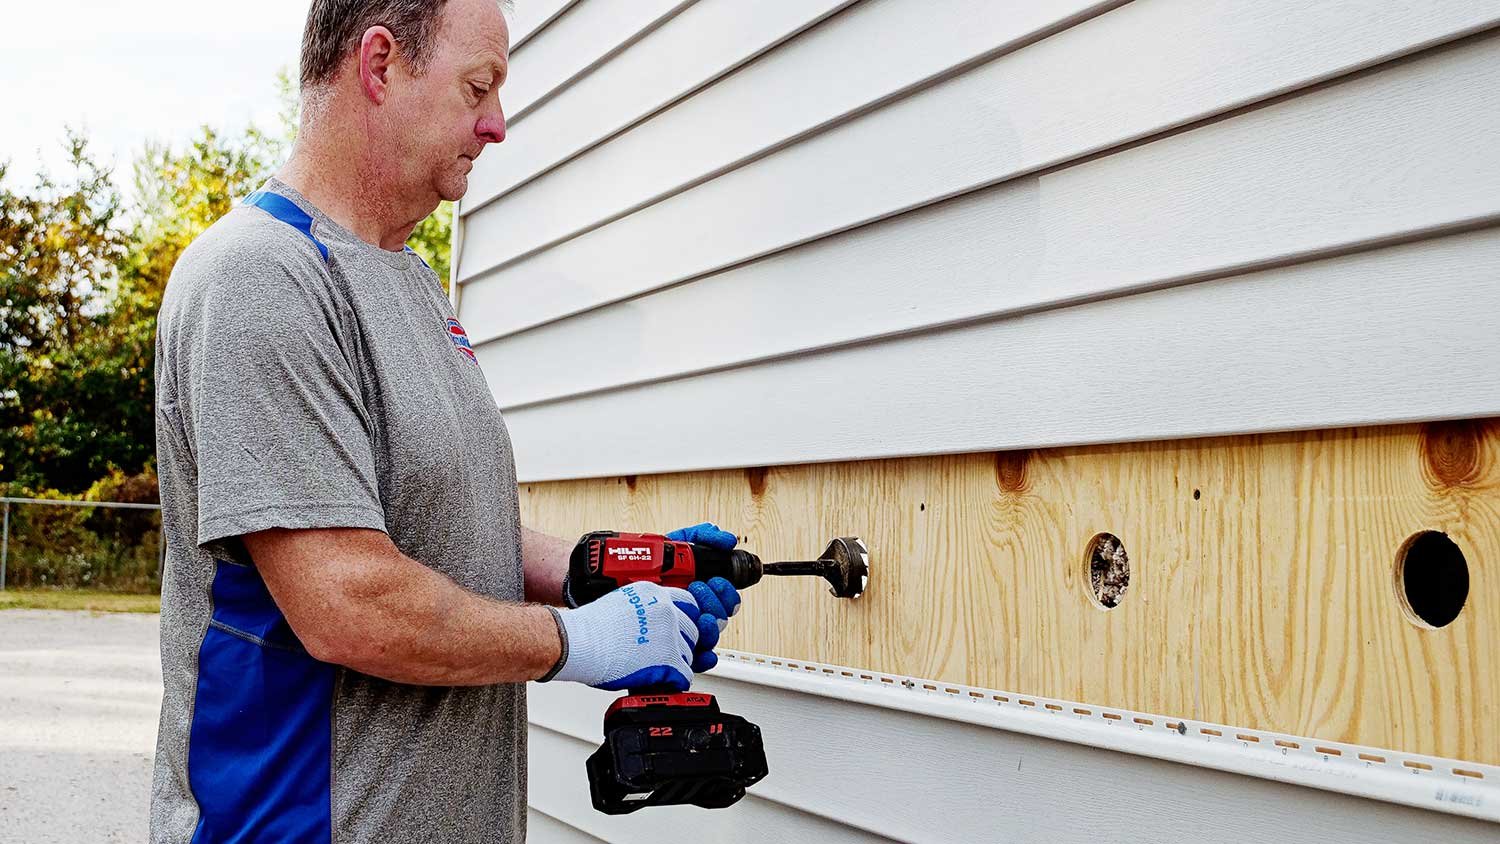
Drill in Each Cavity
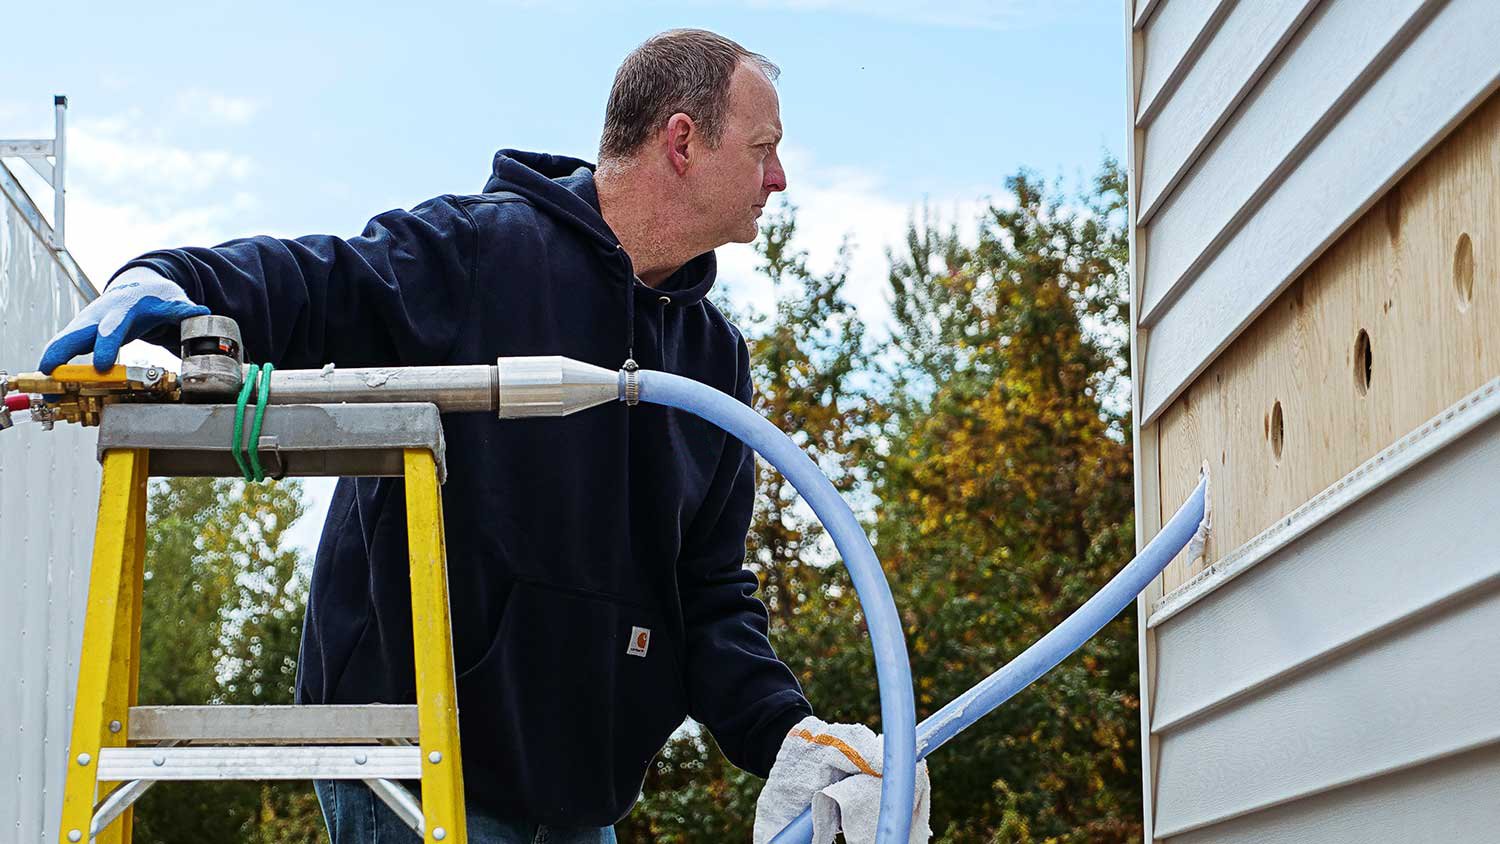
Inject RetroFoam
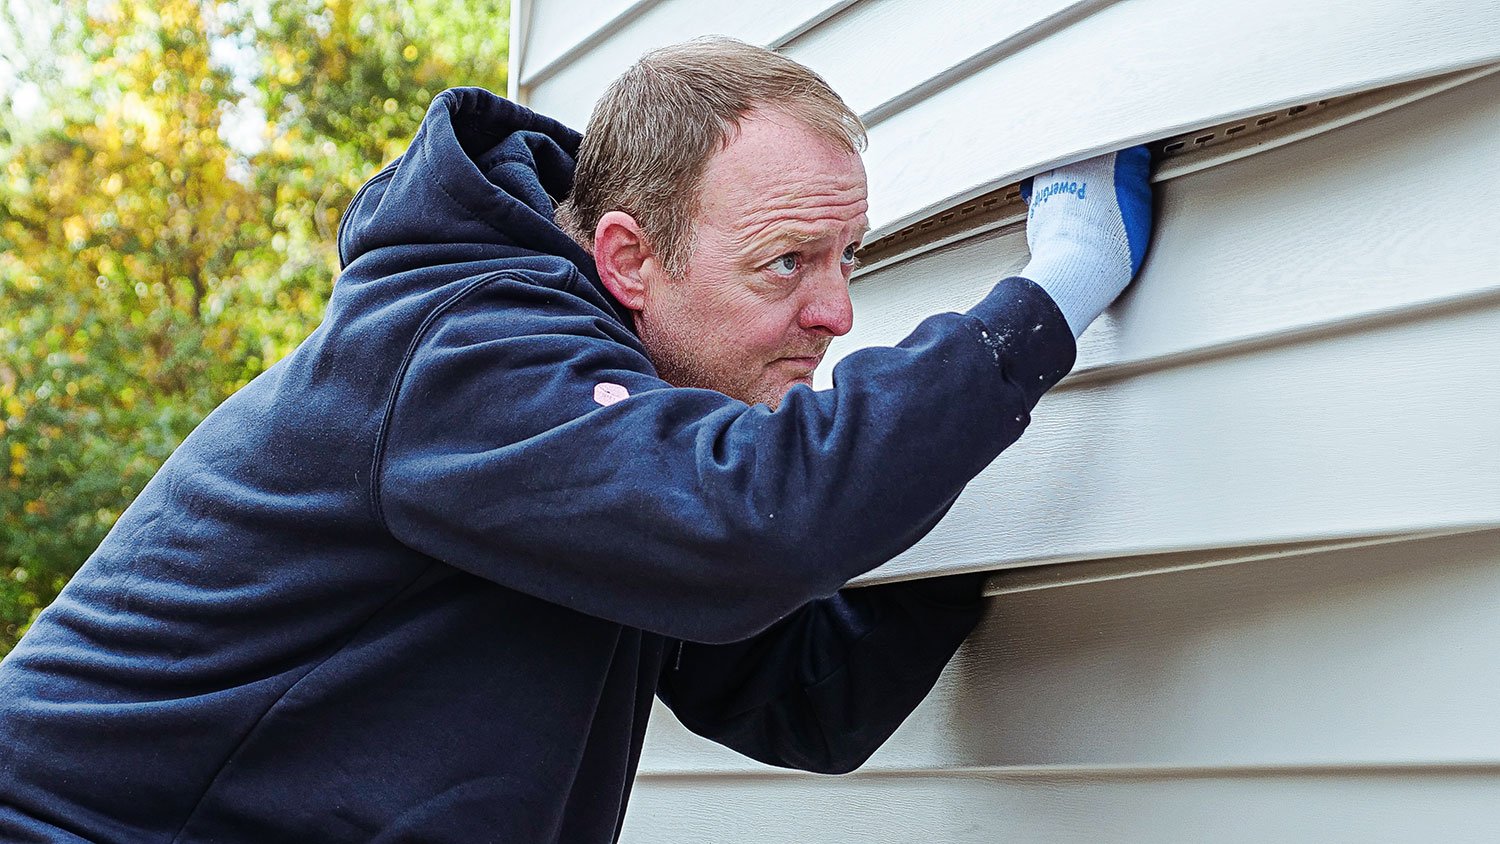
Replace Siding & Cleanup

The first step of the injection foam insulation installation process is to remove a row of siding from around the home.
This is done to give the installer access to the sheathing underneath.


Once the siding has been removed, the installer will drill a hole into each stud cavity.
They will use a tool and run it up and down, then side to side to feel for any obstructions in the wall.


Now that the holes have been drilled, the installer will run the hose up to the top of the cavity and begin injecting the foam.
Once they hit the middle of the cavity, they will run the hose from the bottom up. This method ensures the cavity is completely filled with foam.


After the foam has been injected into each stud cavity, the drilled holes are plugged, and the siding is replaced.
The installer and their crew will then clean up any siding that has foam on it and clean up the area around the install.

If it looks like you might be a good fit for RetroFoam insulation, search our dealer directory to find a dealer in your area.
From there, you can request a quote and connect with your local RetroFoam dealer to come up with a plan for your specific project.
Love your home for the potential you always knew it had now that it is more comfortable and energy-efficient with RetroFoam.