Adding Insulation to Exterior Walls: Installing RetroFoam with Different Siding Types
injection foam insulation | RetroFoam insulation | Installation


You’re taking back control of your home’s energy efficiency and comfort with RetroFoam insulation, but how is it installed in different house exterior wall types?
Currently, there is likely little to no insulation in your existing walls. It happens to the best of us. If you chose to update to a material like fiberglass or cellulose for those walls, you’d have to rip out all of the drywall to install the insulation.
Luckily, you won’t have to take on an entire remodel project just to update your existing wall insulating. That’s because RetroFoam injection foam insulation can be installed from the outside, and in some instances, from the inside without the need to tear out your drywall.
RetroFoam has been providing premium injection foam insulation to homeowners for more than 35 years. All of that experience means we have perfected our installation process to meet any home exterior needs.
Enough about us. Let’s dive right into how RetroFoam insulation is installed into exterior walls with different siding types.
Adding Insulation to Exterior Walls
Adding RetroFoam insulation to existing walls is generally a quick and simple process that typically takes one day to complete, depending on the home’s exterior and the size of the project.
The home’s exterior can change the installation process from removing rows of siding to drilling into the siding.
Now, on to the installation process for adding insulation to exterior walls.
Adding Insulation to Existing Walls with Aluminum and Vinyl Siding
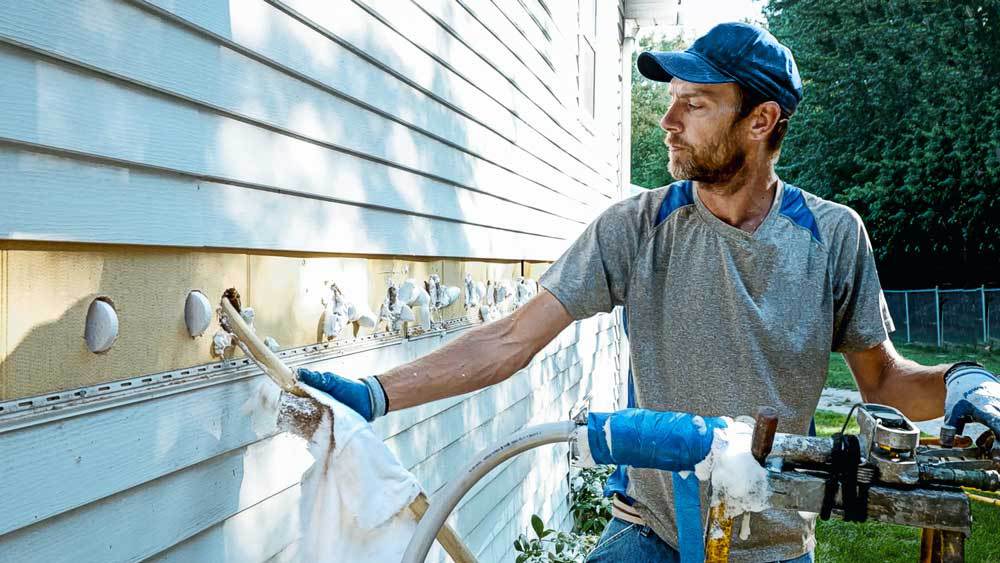
The installation process of adding RetroFoam insulation to homes with aluminum or vinyl siding is relatively similar.
The installation crew will remove a row of siding from around the house and drill a 2 ½-inch hole into each stud cavity. The crew will then run a tool up and down the cavity to make sure there aren’t any fire stops or studs that will prevent the hose from reaching the top and the bottom of the cavity.
This also gives the installer a good sense of what is in the cavity and the size from the top to bottom and side to side. If they find any obstructions or blockages, another hole is drilled either above or below it so the cavity is completely filled with foam.
The installer will then run the injection foam hose all the way to the top of the cavity to the middle, and then from the bottom up. This method ensures the wall is completely filled with foam.
Once the injection foam has been installed in the walls, the drilled holes are plugged, and the siding is replaced.
Adding Injection Foam Insulation to Existing Walls with Slate Tile Siding
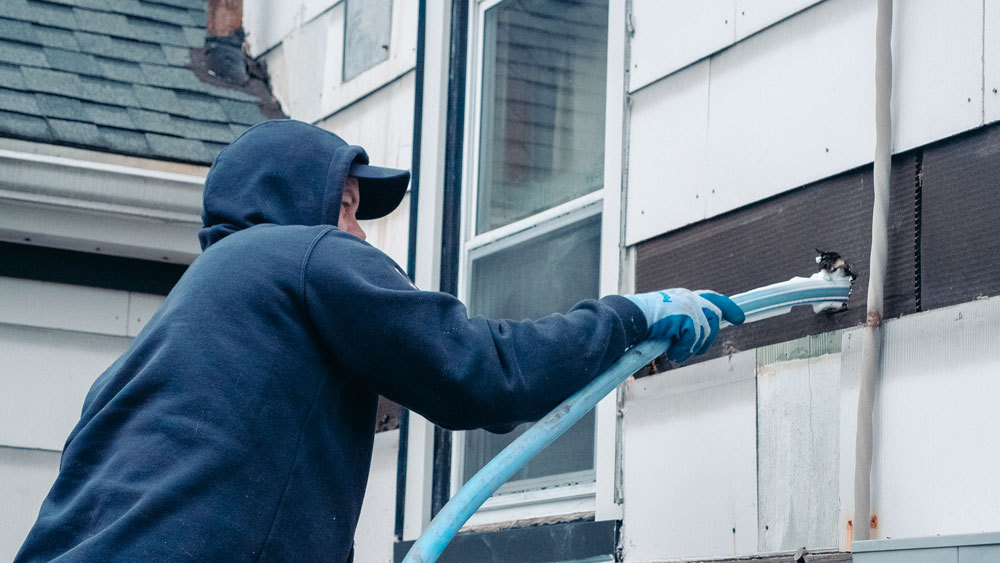
The installation of RetroFoam in walls with slate tile siding is similar to aluminum and vinyl.
The installation crew will remove the slate tiles in a row around the home and drill holes into each stud cavity. The installer will then check for any obstructions in the wall.
When all of that is finished, the foam is injected into each wall cavity, the holes are plugged, and the slate tiles are replaced.
Adding Insulation to Existing Brick Walls
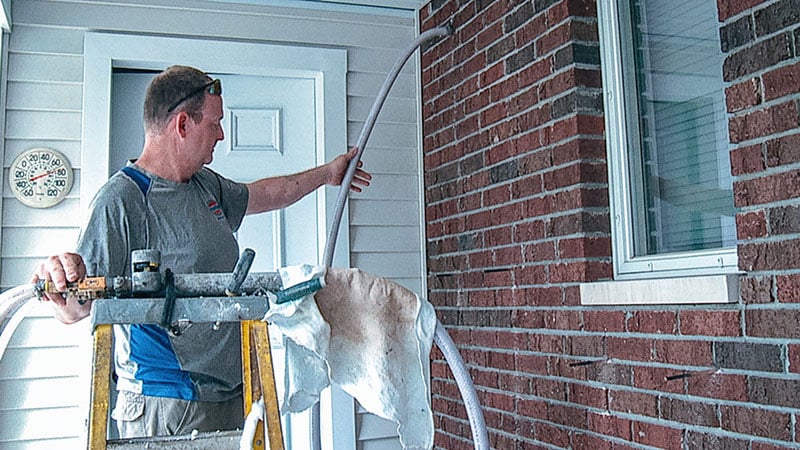
Working with a brick exterior takes more time than vinyl or aluminum because of the install method.
The installation crew will drill a ⅝-inch hole in the mortar at each stud cavity’s top, middle, and bottom. After the holes are drilled, the installer will inject the foam starting at that top hole and working their way down.
Once the foam is injected, a crew member will clean up the dust and chunks. Then they will fill the drilled holes with mortar.
How to Insulate Exterior Stucco Walls with Foam
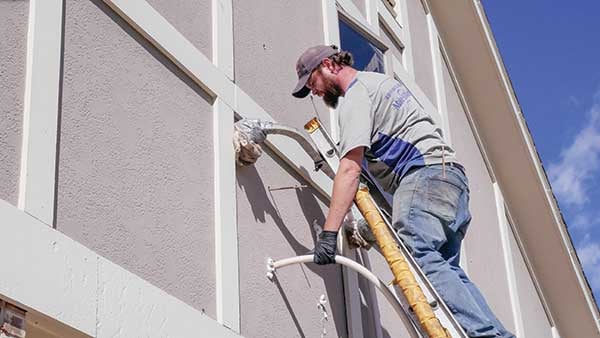
Working to insulate exterior stucco walls with injection foam is similar to a brick exterior, as crews will be drilling into the stucco siding.
A ⅝-inch hole is drilled into each cavity’s top, middle, and bottom to ensure the foam completely fills the space.
After the foam has been injected, a crew member will fill all of the drilled holes with mortar mixed at the job site.
How to Insulate Concrete Block Walls with Injection Foam
For existing concrete block walls, a ⅝-inch hole is drilled into the middle of the walls into the cavities left open by lining up the blocks’ cores.
Holes are also drilled at the top of the cavity for taller walls to ensure the cavity is completely filled.
The injection foam will fill the cores of the cinder blocks and the tiny crevices left open when the walls were mortared together.
Once the foam has been injected, mortar is mixed on-site to fill the drilled holes.
How to Insulate Exterior Walls with Wood Siding
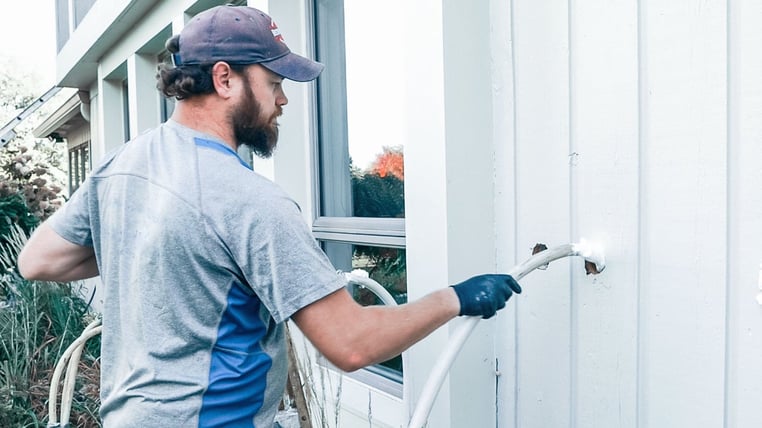
If your home’s exterior is either lapboard or cedar shake siding, there are two options -- either the wood siding can be removed, or the installer will need to drill through it.
The condition of the wood siding is the determining factor on whether it is removed or not. If the wood is brittle, then it can’t be removed without breaking pieces.
So, can you drill into siding that is wood? Yes, you can.
If the wood siding is in good condition, then much like aluminum and vinyl, a row is removed around the house so holes can be drilled into each cavity. The installer runs the hose from the top to the middle, and from the middle to the bottom to ensure the foam gets into all of the nooks and crannies.
If the wood siding can’t be removed, then the installer will drill right through it.
After the foam has been injected using this method, the drilled holes are filled with a tapered pinewood plug.
If the home has T1-11 wood siding, it can’t be removed, so the only option is to drill through it.
Insulating Walls with Vertical Metal Siding
Vertical metal siding isn’t meant to be removed, so there is only one option -- to drill through it.
When installers work with vertical metal siding, they drill a small hole around 1 ½-inches into the siding to inject the foam. Once the installation is done, the holes are plugged with a 1 ½-inch plastic cap and sealed with caulk.
When working with this type of siding, the goal is for the installer to take their time not to dent the metal.
Adding Exterior Insulation to Existing Walls with Hardie Board Siding
The process to remove hardie board siding is more complicated when compared to vinyl or aluminum.
The installation crew will carefully and evenly pull up the board to the exposed nail. The nail heads may need to be cut off if there is a problem removing them. If there is any existing caulk, that will need to be removed too.
Once the siding is removed, the foam is injected, and the holes are plugged. Now the hardie board needs to be replaced.
Reinstalling the hardie board is similar to vinyl or aluminum, but there are several extra steps.
If all of the nails came out without any trouble, the crew can use those same holes to drive the nails through.
If the nail heads had to be cut, then the crew would need to drill new holes.
The crew will also need to re-caulk around the siding once the installation is finished.
Adding Insulation Behind Drywall
Sometimes it makes more sense to leave the home’s exterior alone and just install the injection foam from the inside.
When injection foam is installed from the inside, a 2 ½-inch hole is drilled into each cavity in the exterior walls. Much like when the foam is installed from the outside, the installer will look for obstructions in the wall and drill more holes where needed.
Once the foam has been injected, the holes are plugged, and a rough patch of drywall mud is spread over the drilled holes.
Learn More About Adding RetroFoam Insulation to Your Existing Walls
Now no matter what kind of exterior your home has, you know what to expect during the RetroFoam installation.
If you’d like to actually see what that install process looks like, check out the Install Process page on our website.
Related Articles
How Do RetroFoam Installers Know the Cavity is Full When Insulating Existing Walls?
Will RetroFoam Insulation Installation Cause Drywall to Crack or Bow?
About Amanda Emery
Amanda previously has worked as a breaking news and crime reporter, TV news producer, and editor. As a journalist, she has won several awards from The Society of Professional Journalists - Detroit Chapter and the Michigan Press Association. Amanda uses her experience as a journalist to write content that will help educate homeowners on foam insulation benefits. When Amanda isn’t writing, she’s spending time with her husband Chris, daughter Lilith-Maeve, and rescued huskies Danger and Wendigo. She also loves knitting, making art, and cooking.
